Title
Chamfers are one of the most commonly used features in mechanical design and machining. They improve part safety, ease assembly, and enhance aesthetics. However, improper or inconsistent chamfer sizing can cause assembly misalignments, machining inefficiencies, or even product failures.
This article will help you understand what chamfers are, how standard chamfer sizes are defined, and what design considerations you should keep in mind when applying them.
- What Is a Chamfer?
A chamfer is a beveled or angled edge that replaces a 90-degree corner. It is typically applied at 45 degrees unless otherwise specified. Chamfers are used to:
Remove sharp edges for safety
Guide mating parts during assembly
Prevent edge damage during handling
Improve the visual finish of a component
Chamfers are often specified by two parameters: the length of the chamfer leg (in mm or inches) and the angle (usually 45°, 30°, or custom).
- Understanding Standard Chamfer Sizes
In practice, standard chamfer sizes are commonly used for efficiency and consistency in manufacturing. These sizes correspond to common hole diameters, shaft ends, or edge break requirements.
Typical examples include:
M3 Screw Hole → 0.3 mm × 45° chamfer
M6 Thread Start → 0.6 mm × 45° chamfer
Edge Break → 0.2 to 1.0 mm × 45°, depending on part size
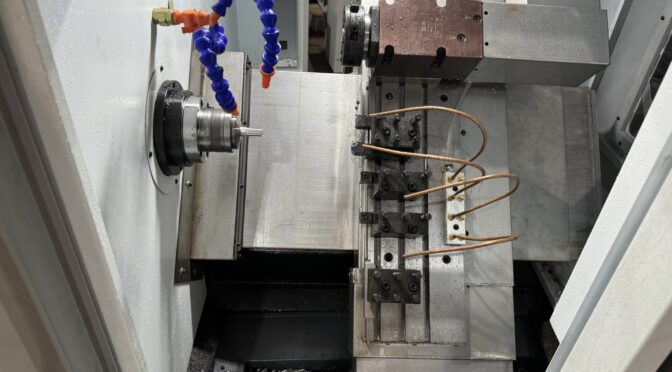
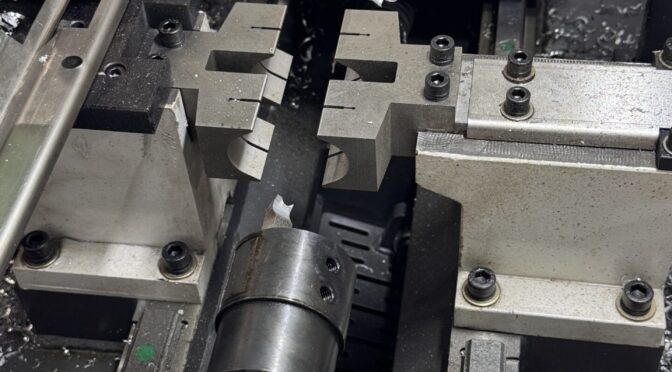
CNC default chamfer → Often set at 0.5 mm × 45° or 1 mm × 45°
Many CAD/CAM systems and machining centers use default chamfer macros for common dimensions, making it easier to apply consistent features across parts.
- How to Read a Chamfer Size Chart
A chamfer size chart typically matches hole sizes or feature types with recommended chamfer dimensions. It often includes:
Recommended chamfer length
Chamfer angle (default is 45° unless noted)
Application notes (e.g., threaded hole lead-in, shaft chamfer)
Using these charts helps ensure fitment and proper function, especially when interfacing with fasteners, bearings, or tight-tolerance components.
- Design Tips for Using Chamfers
Here are key insights when applying chamfers in design:
Standardize whenever possible — Use common sizes like 0.5 mm × 45° or 1 mm × 45° to simplify tooling and reduce machining time.
Don’t over-chamfer small parts — A large chamfer on a small feature can weaken the part or cause fitment issues.
Add chamfers to mating surfaces — Especially when guiding pins, screws, or shafts into holes.
Use chamfers instead of fillets when ease of machining matters — Chamfers are easier and faster to machine than small radii in many cases.
Indicate “edge break” only when precision is not critical — A generic “break all edges” callout gives machinists flexibility without requiring exact specs.
- When to Avoid Chamfers
Although chamfers are useful, they’re not always appropriate:
In sealing surfaces (o-rings, gaskets), fillets may be better.
In plastic injection molding, sharp edges or chamfers can cause stress risers.
For very thin-walled parts, chamfers may reduce structural integrity.
Conclusion
Chamfers may seem like a minor detail, but they play an important role in the functionality, manufacturability, and safety of mechanical parts. By understanding standard chamfer sizes and how to apply them appropriately, designers can improve assembly efficiency, reduce cost, and avoid avoidable rework.
A well-designed chamfer isn’t just an edge—it’s a smart engineering decision.